DIY Stuffed Animals and Pillows

Pretty much everyone around me these days knows how to sew.

Everyone except me, that is.

Well, until recently. 🙂

When my mom visited back in October to help us with the kids, she taught me how to hand sew. We made these cute little monsters for our middle son’s birthday party in just a couple days time. I realized then that I actually really liked to do this. Then, mom left, I got busy, and forgot about this newfound DIY hobby of mine.

DSC_0475

In the last couple weeks, I have started sewing again….my kids being the inspiration.

I wanted to make each of them something special….they wanted me to make each of them something special…so off I went on some new creating adventures.

Our daughter loves all things pink. 🙂 I made her this little pillow with felt, flannel, embroidery thread, and stuffing.

image

My next project was for our middle son, and was much more advanced than the pillow project. All I had was a generic picture that gave me an idea to go by, and no pattern or anything. I have no idea if I did it like other people would, or like I even should. Nevertheless, it came out great and our son loves it!

I used different colored felt and embroidery thread, along with a space patterned cotton fabric that a friend gave me. Meet “Space Spot J”. 🙂

image

And finally, our oldest requested that I make him a Pikachu. Okay, why not?

imageI knew it was a success when I looked over and he had it in his hands, staring at it, saying “Pika” over and over. So cute!

I am loving creating beauty both FOR my children, and WITH my children!  Here is our oldest son’s first sewing project (I have been teaching him to sew)…

michaels pillow

He pretty much did everything himself, including picking the colors and the fabric…great job buddy! 🙂 ❤

cropped-blog-header10.png


DIY Orange Coconut Sugar Lip Scrub

I have really been enjoying making gifts for people lately. There is something so enjoyable about creating something specifically for the person you are thinking of.

For a lovely young woman in our church I made this yummy and totally edible lip scrub.  I’m not suggesting you should really eat it, but if you feel it on your lips and can’t resist…. 😉

I ended up making more than enough to go in this little container, so I have a little bowlful for myself as well. I love it! I tend to get dry lips, and this stuff really helps! I try to use it morning and night…really, it is wonderful! And if you don’t like the flavor of orange, try a different one! So many different ways you could make this!

DIY Orange Coconut Sugar Lip Scrub

*Created by Lori at Creating Beauty in the Kitchen

Ingredients:

  • White Sugar
  • Coconut oil
  • Pure orange extract

Directions:

  • Use equal amounts of sugar and coconut oil.
  • Add in some drops of orange extract (as much or as little as you like)
  • Mix all of these together really well.
  • Put into a container with a lid.

Your lips will love this!

My Signature2

Homemade DIY Glass Magnets

Friday already! Fridays to me ( at least until we have kiddos) means a few for sure things….exercise, music practice (singing, djembe, sometimes the electric drums), spending time with my hubby and sometimes friends, and Fiesta Friday whenever possible. And my friends, this week Fiesta Friday is indeed possible! 🙂

I have some fantastic recipes to share with you, but I don’t have the energy to write the recipes right now. So, today I bring you some more of my crafting adventures.

These beauties are homemade magnets I created as a gift. All you need is clear glass pebbles (I got mine at the dollar store), an inch size round hole punch, glue you can use on glass and tile, scrapbook paper of your choice, and adhesive magnets you can get at a craft store.

You simply punch holes in the paper, glue it right side up on the bottom of the glass, then attach a piece of magnet. Easy as can be, and such a great gift idea! You can really personalize them, which is what I really love!

Here is an entirely different one I made for someone else, and then used it as a decorative top for a little container. Instead of putting the magnet on the back, I just glued it onto the top. I really love this one….love turquoise and love the adorable bird!

Try this out, and if you do, I would love to see what you create!

Happy Fiesta Friday to my fellow party-goers! As always, thank you Angie and the co-hosts!

fiesta-friday-badge-button-i-party

My Signature2

Thrift Store Finds: Refinished for a New Fun Look

My counselor gave me an awesome word picture yesterday that my heart totally resonates with: I am in my third trimester of pregnancy without a due date. Yes! As he put it, though I am not actually pregnant, but foster-adopting for those of you who don’t know that yet, I am feeling all the emotions and experiencing all the nesting that a pregnant woman in her third trimester would feel….I just don’t know when the time will come to meet our children/child. I also have no idea what gender we are having (which is funny since I always planned on finding out if I did get pregnant). And we could be having triplets for all I know. 🙂

So as this third trimester pregnant-like woman continues to nest :-), I have been busy refinishing furniture for one of the kid’s rooms. The picture of this fun piece of furniture that you see at the top is what I created from this piece in the picture below. I found this at a thrift store for about $12. Just like the picture frames I showed you, I began by sanding the entire thing. By doing this, I made sure there were no rough edges, and it also allows for the paint to actually work right on the furniture.

I am going to admit something here…..I often do things the hard way. Very. Often. 🙂 This time was no different. When I started this project I wasn’t planning on distressing the furniture. Guess what? I changed my mind….after it was already too late to do it the simple way. Did that stop me? No….I am not sure if that “no” though is unfortunate or fortunate. 😉

Instead of me explaining all the craziness I went through to get the distressed look on this, go here to find the “how to.”

Yes, I did this little table you see below the hard way as well…

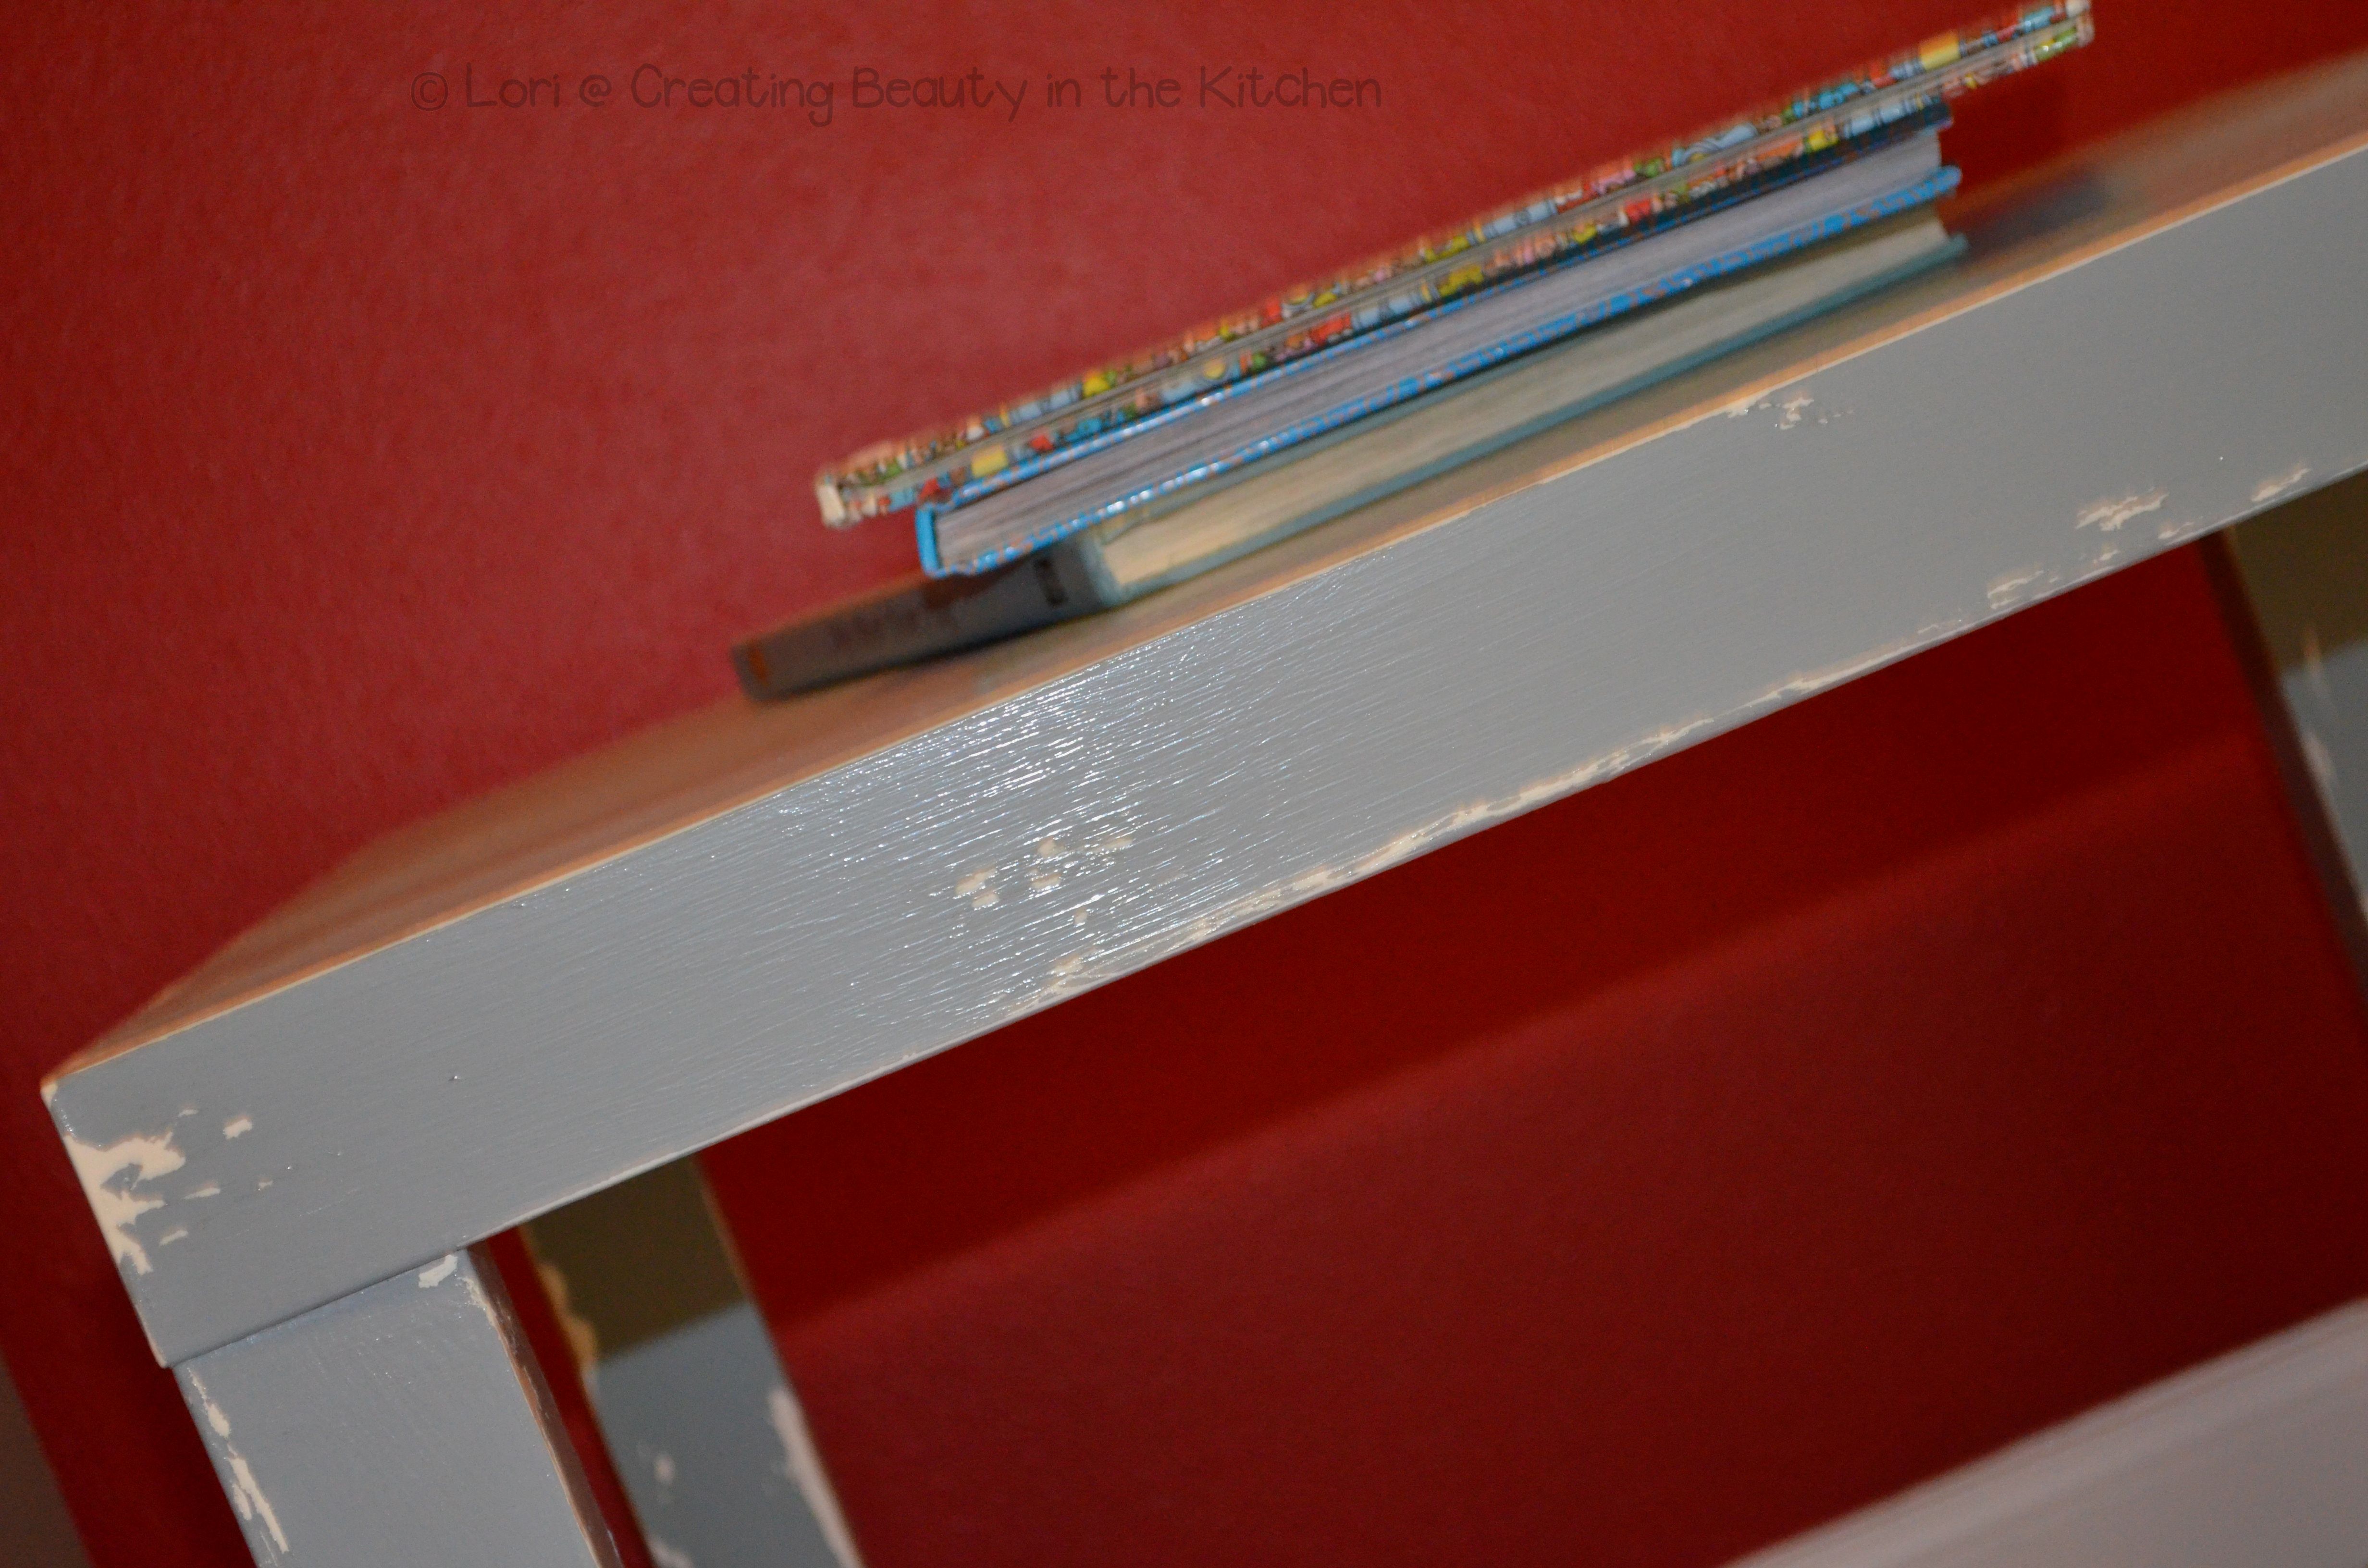
I can’t find my “before” picture of this table, but I found this little guy at the thrift store too for $5. It was all white and laminate. Yes, you can paint and distress laminate furniture! See how the edges look all worn?

I may have done it the hard way, but I absolutely love how these pieces came out!

To my Fiesta Friday friends….I know I usually bring food to the party….but I thought it would be fun to have a different sort of creativity to look at as you munch on all the wonderful, creative dishes! May this inspire you to try something new…whether it be in the kitchen, or somewhere else around the house!

fiesta-friday-badge-button-i-party

My Signature2

Distressed Looking Photo Frames

Yes, I am nesting!  At least, that is what my friends at church said when I told them what I have been up to these past weeks.  But it is true…nesting I am. 🙂 I can feel it.

I never knew I would get to be at this place in life…preparing to be a mom. 🙂

There is so much to do to as we prepare ourselves to foster/adopt-

  • Prepare the house
  • Get the kiddo’s rooms ready
  • Training times
  • Prepare our hearts
  • Spend time reading books on attachment, trauma, etc.

Yes we are tired, yes it is a lot, but it is all totally worth it!

As I have been working on getting the kiddo’s bedrooms ready, I have been doing a lot of “creating,” which might not surprise you. 😉

I found a whole bunch of inexpensive photo frames like the ones in the picture below either at thrift stores or the dollar store. I really want to make their rooms feel homey. I want them to know that they matter even through doing this small thing. Of course, they may not feel like they matter for a long while. And they may say that they hate their rooms and wish they could go somewhere else. That’s okay. This is all part of the journey of foster/adopting. It is not an easy road. But, in God’s grace, we want to pour love on these children who have already been through so much in their short lives, even if they don’t want it at times.

I sanded them and then painted them by giving them a distressed look. The sanding is what takes the longest, but distressing it is simple! After you have sanded, first paint the frame whatever color you want to show through as the distressed part. It took me 2-3 coats. Once that is dry then take some Vaseline and put a light layer in places where you want it to look worn. Paint your main color over the top. Again, this took 2-3 coats. Use steel wool (I am not a fan of this after using it, but it works), or something like a cheap nail file to scrub around your frame. What you will see happening is that where you put the Vaseline, the top color will come off, leaving the first color. When you are finished use a sealer. I used Mod Podge.

For these, I wanted the main color to be turquoise, so I painted the white on first.

It is okay if some of the original color of the frame comes through…it just adds to the distressed look.

I loved the color of the original frame in this one below, so I skipped the step of putting a base coat. I really wanted the original red color to come through. I love how it came out!

This is a pic of one I made with the reverse coloring. (The room colors are red, white, turquoise, and grey.)

Have any of you tried doing a distressed look on anything that you have painted?

Purple and Turquoise Patterned Canvas

Though I have been MIA in the blogging world for a while, I haven’t stopped “creating beauty throughout our home.” 🙂

This new piece of artwork has been in the making for months….in my head, that is. All those months of thinking about it and yet it only took me an hour or so to do. I find that funny. Surprisingly, or actually maybe not so surprisingly, this is not at all what I had envisioned. And I love it!

I’ll give you one guess as to how I made it…..

Drum roll please…..

Decoupage! 😉

I know, I know….I am so full of surprises. 😉

This piece is on our dining room wall and my goal was to pull in the purple from the kitchen and turquoise from the dining room into one beautiful combination that brings the two rooms together.

Go HERE to see how to decoupage a piece of canvas like this.

It has been so long since I have been to the party. You know which one I am talking about….Fiesta Friday! 🙂 So, popping my head in this week with some DIY artwork to look at while you enjoy eating all the goodies everyone brought!

A big thank you to Angie and the co-hosts!

fiesta-friday-badge-button-i-party

Purple, Red, Black, & White Decoupaged Pair

Okay, so my hubby is right, I think I am going to decoupage every room in our house. 😉 I am so glad he loves my decoupaging! ❤

This most recent project came about as a result of both loss and blessing.

Our dear, dear friends are moving far, far away. They are the type of friends that you can be real with, silly with, deep with….these are friends who have both cried with us and rejoiced with us. Good, good friends indeed! They will be missed more than they can probably know by so many who are a part of their lives here!

Can you imagine moving and needing to get rid of most of the things in your home? I can’t! Well, these dear friends who are doing just that, blessed Doug and I by giving us their awesome purple couches and gorgeous red rug.

I remember the first time I walked into their house and saw these in their living room….I knew we would be good friends! 🙂 I love their spunkiness, and this furniture is soooo them! It is also sooooo us! Maybe that’s why they thought of us when they pondered a home for their loved living room furniture.

Something so special that the wife told me which I will always remember as I sit on these couches (that’s where I am sitting as I type these words) is this, “Lots of praying has happened on those couches…even for you.” I am looking forward to saying the exact same thing back to her someday!

So, these beautiful couches and rug that have found their new home in our loft area upstairs are the inspiration behind this new decoupage project. Purples, reds, whites, and blacks….love it!

I started with two blank canvases….

Purple, Red, Black, & White Decoupaged Pair

*Created by Lori at creatingbeautyinthekitchen.wordpress.com

Supplies:

  • Mod Podge
  • Mix patterned scrapbook paper…some that have purple, red, black, and white. (Or pick 4 different colors of your choice)
  • Scissors
  • 2 white medium sized canvases
  • Paint brush for Mod Podge
  • Drop cloth or old sheet

Directions:

  • Lay out the drop cloth/sheet. This will be your work station.
  • Pick out the different scrapbook papers you would like to use and have an idea of what you want each canvas to look like.
  • I did not want to cover the sides of the canvases, so I cut all the scrapbook pieces to fit to the edges of the front.
  • You can use an entire scrapbook paper as is, or cut out random shapes to use. I did both of these things.
  • Put a thin layer of glue to the back of each piece of paper you have cut (one at a time)and make sure to smooth it out if that is the look you are going for. When it is sticking well and is also wrinkle free (unless you like the extra texture of the wrinkles, like I did in my Wrinkled Decoupaged Canvases…I did a bit of a mixture on this project), then you can add another piece. I really like the non-perfect look of it being a little wrinkly. I think it adds to the texture and character of the project.
  • When it is finished, layer a top coat of Mod Podge on it.  You may want to put several coats.
  • Hang on the wall.

Cindy & John, if you are reading this….we love you guys tons! May your hearts be comforted to know that your couches and rug are already well-loved in their new home! ❤ Miss you already! 

My Signature2

You can also find me here on Pinterest, Facebook, or Instagram.

Fall Decoupaged Owl

I have really missed you all! I know I have been MIA lately….reasons? I had a birthday (yes, I’m a year older…can you tell?! 😉 ), we have been having people into our home regularly, I have been learning to play the djembe drum, I have been reading, studying, and praying as I seek to prepare for a women’s retreat for our church that I am the speaker for….lots going on….not to mention cleaning, cooking, etc. 🙂  And I am honestly struggling to balance everything. Please know though that I really have missed you all, even though I haven’t been able to stop by your blogs as much as I would like! ❤

Yesterday I finally took some time to get crafty. 🙂 I had forgotten I had this fun felt owl that I wanted to decoupage.

You should know by now that I love owls! I think they are soooo cute! For this one I decided to use papers that would both match our living room decor and be good to use for fall on the slight chance we wouldn’t want him out year round. And that really is a slight chance. 😉

Here is a pic as I was in the midst of creating him…

Once I finished decoupaging, I sealed it with a layer of the Mod Podge. This is what that looked like…

I don’t normally put it on so thick, but I like how it came out.

Fall Decoupaged Owl

*Created by Lori at creatingbeautyinthekitchen.wordpress.com

Supplies:

  • Mod Podge
  • Fall colored scrapbook paper
  • Scissors (I used fun scissors that gave a texturized look)
  • Shaped hole punches in different sizes (optional)
  • Paint brush for Mod Podge
  • Drop cloth or old sheet

Directions:

  • Lay out the drop cloth/sheet. This will be your work station.
  • Pick out the different scrapbook papers you would like to use.
  • I did not want to cover the sides of the owl on this particular project, so I cut all the scrapbook pieces to fit to the edges of the front, or even a little over. I used fun edged scissors to create a fun look.
  • Cut out random shapes in different colors and patterns.
  • Put a thin layer of glue to the back of each piece of paper you have cut (one at a time)and make sure to smooth it out before proceeding onward. When it is sticking well and is also wrinkle free (unless you like the extra texture of the wrinkles, like I did in my Wrinkled Decoupaged Canvases…I did a bit of a mixture on this project), then you can add another piece. Continue to do this until it is all covered. I overlapped my pieces, put pieces at different angles, and gave it a layered look.
  • When it is finished, layer a top coat of Mod Podge on it.  You may want to put several coats.
  • Set out or hang on the wall.

My Signature2

You can also find me here on Pinterest, Facebook, or Instagram.

Multiple Canvases Used to Make One Piece of Artwork

A while back, with a bit of a scared look in his eyes, my hubby asked me, “Are you going to decoupage everything in our house?” 🙂 And you know what? He is such a sweetie, that he probably wouldn’t have minded even if he wasn’t sure he would like it.

Then I made this, and this, and this, and now the piece you see above, and he just loves them all so much. I have convinced him how awesome decoupage can be! Have I convinced you yet? 😉

When we moved into our new home, the people before us had left a wall mounting bracket up for the t.v. It was actually really nice, because they even put tubing in the wall where the cords could go down behind it to the floor level, instead of having them hang down. I am sure this is many a guys’ dream. But, it wasn’t our dream…. at least not at this point. 🙂

Hmmm….how to come up with something to cover the holes (that you may even want to use later)…..it was going to take some creativity, that’s for sure.

Thus enters this artwork you see here. My favorite piece, actually! I used 5 canvases of varying sizes and 6 different patterns of scrapbook paper to create something unique, something that was “us”, something that worked with the colors in that room, and something that would cover all the spots that needed covering.

I love the patterns! It is amazing how very different patterns can all go together to create something so beautiful! 

Multiple Canvases Used to Make One Piece of Artwork

Lori at Creatingbeautyinthekitchen.wordpress.com

Supplies:

  • Multiple canvases of varying sizes
  • Scrapbook paper, making sure you have at least 6 different patterns. Pick colors that will compliment the room you are making it for.
  • Mod Podge
  • Paint brush
  • Drop cloth or old sheet
  • Regular scissors
  • Fun scissors that cut with different shaped edges (optional)

Directions:

  • Lay out the drop cloth/sheet. This will be your work station.
  • Decide how you want the canvases to look before you start.
  • You want to start with one canvas at a time (especially if this is new for you), though I admit I am a multi-tasker and worked on several of these at once.
  • I did not want to cover the sides of the canvas on this particular project, so I cut all the scrapbook pieces to fit to the edges of the front. At times, I used fun edged scissors to create a fun look.
  •  Put a thin layer of glue on the part of the canvas you are placing your paper on and make sure to smooth it out before proceeding onward. When it is sticking well and is also wrinkle free (unless you like the extra texture of the wrinkles, like I did in my Wrinkled Decoupaged CanvasesI did a bit of a mixture on this project), then you can add another piece. Continue to do this until it is all covered. I overlapped my pieces, put pieces at different angles, and gave it a layered look.
  • When every canvas is finished, layer a top coat of Mod Podge on it.  You will want to put several coats.
  • Hang on the wall with two nails for each canvas. Use a level if you have one to make sure each piece is straight. You can hang them close together where they are touching, or put some space between them.

My Signature2

You can also find me here on Pinterest, Facebook, or Instagram.

Multiple Decoupaged Matching Canvas Art

I love color! I love seeing how different colors play off each other and how different patterns can be combined to create something beautiful!

Hospitality is important to me. I want my friends and family to come into our home and feel welcomed. I want them to feel important. I want them to know they matter. These have been the thoughts running through my mind as I create art for our new home. Our home is truly a blessing from the Lord….a blessing that I hope will be a blessing to others.

What I love is that hospitality doesn’t mean you have to have lots of money, have tons of fancy things, the most comfy couches, or even your own homemade art. 🙂 As the author from a  book I’m reading says, “Creativity is so much more than ‘arts and crafts.’ It is a way of seeing, a willingness to see wonderful possibilities in something unformed or ordinary or even ugly.” (Emilie Barnes)

The most humble of homes can be just as hospitable as the most fancy ones. For “a welcoming home is where life happens. It’s where personalities are nurtured, where growth is stimulated, where people feel free not only to be themselves but also to develop their best selves. That caring, nurturing quality-not the absence of noise and strife-is what makes a home a refuge.” (Emilie Barnes) Love this!

Since I love creating art, I want to use that passion and gift as a piece of making our home a refuge for others.

When someone comes into our home they will be greeted with these bright and fun patterned canvases. 

Multiple Decoupaged Matching Canvas Art

*Lori at Creatingbeautyinthekitchen.wordpress.com

Supplies:

  • 4 small canvases of the same size
  • Scrapbook paper, making sure you have at least 4 different patterns.
  • Mod Podge
  • Paint brush
  • Drop cloth or old sheet
  • Scissors

Directions:

  • Lay out the drop cloth/sheet. This will be your work station.
  • Decide how you want the canvases to look before you start. I used a different base pattern for each one and then used pieces of the other scrapbook paper to accent them and make each canvas different, yet seem like one piece of art.
  • You want to start with one canvas at a time (especially if this is new for you), though I admit I am a multi-tasker and worked on several of these at once.
  • Cut the scrapbook paper large enough to cover both the front and the sides…you may just want to make it large enough the some of the paper goes onto the back. This will guarantee coverage for your sides. You don’t want to accidentally cut the paper too small and the sides not cover well.
  •  When you have done that, put a thin layer of glue on the front of the canvas and make sure to smooth your paper out before proceeding onward. When it is sticking well and is also wrinkle free (unless you like the extra texture of the wrinkles, like I did in my Wrinkled Decoupaged Canvases), now it is time to wrap the paper around the sides.
  • I cut the paper at the corners of the canvas so that I could glue the paper down without it bunching up. I recommend doing one side at a time. If the paper needs to be glued onto the back, then do that before you move onto the next side.
  • Do this with all your sides/back.
  • When every canvas is finished, layer a top coat of Mod Podge both to the front and sides. You will want to put several coats.

*Note: One of the fun things about Mod Podge is that it comes in different finishes….satin, gloss, matte, etc. You choose whichever you would like.

Are there ways you seek to make your home hospitable? I would love to hear your ideas! 

My Signature2

You can also find me here on Pinterest, Facebook, or Instagram.