Mediterranean Quinoa Salad

I needed to come up with a large dish for our church potluck tomorrow…and that is where one of my favorite staples comes in. Quinoa!

When I began cooking it, I didn’t know what exactly I was going to do, but I knew it needed the flexibility of a cold dish. I always get to church early in the morning for a second music practice, so bringing something hot just doesn’t work.

I love the way this turned into a delicious Mediterranean salad!

Mediterranean Quinoa Salad

*Created by Lori at creatingbeautyinthekitchen.wordpress.com

Ingredients:

  • 2 cups quinoa
  • 1 cup feta cheese
  • 4 cups water
  • Black pepper
  • Tomatoes
  • Lots of fresh basil
  • 3 lemons for juice
  • A little bit of red wine vinegar
  • 1/2 cup extra virgin olive oil
  • 3 fresh cloves of garlic, minced

Directions:

  • Put 4 cups of water into a saucepan and boil.
  • When the water comes to a boil, add in 2 cups quinoa until it begins to boil again.
  • Reduce to medium heat, place a lid on the saucepan, and let simmer for about 12 minutes or until it has sucked up all the water. (You may want to check on it a few times. If all the water soaks up too soon the quinoa will become really crunchy.).
  • When this is finished, take it off of the heat, stir it, cover again, and let sit for 15 minutes.
  • Let quinoa cool and then put it into a large serving dish.
  • Add the olive oil, red wine vinegar, lemon juice, and pepper. Stir thoroughly.
  • Cut up the fresh basil and tomatoes. Add to the quinoa, mixing.
  • Finally, add the quinoa and you are ready to serve this yummy dish.

My Signature2

You can also find me here on Pinterest, Facebook, or Instagram.

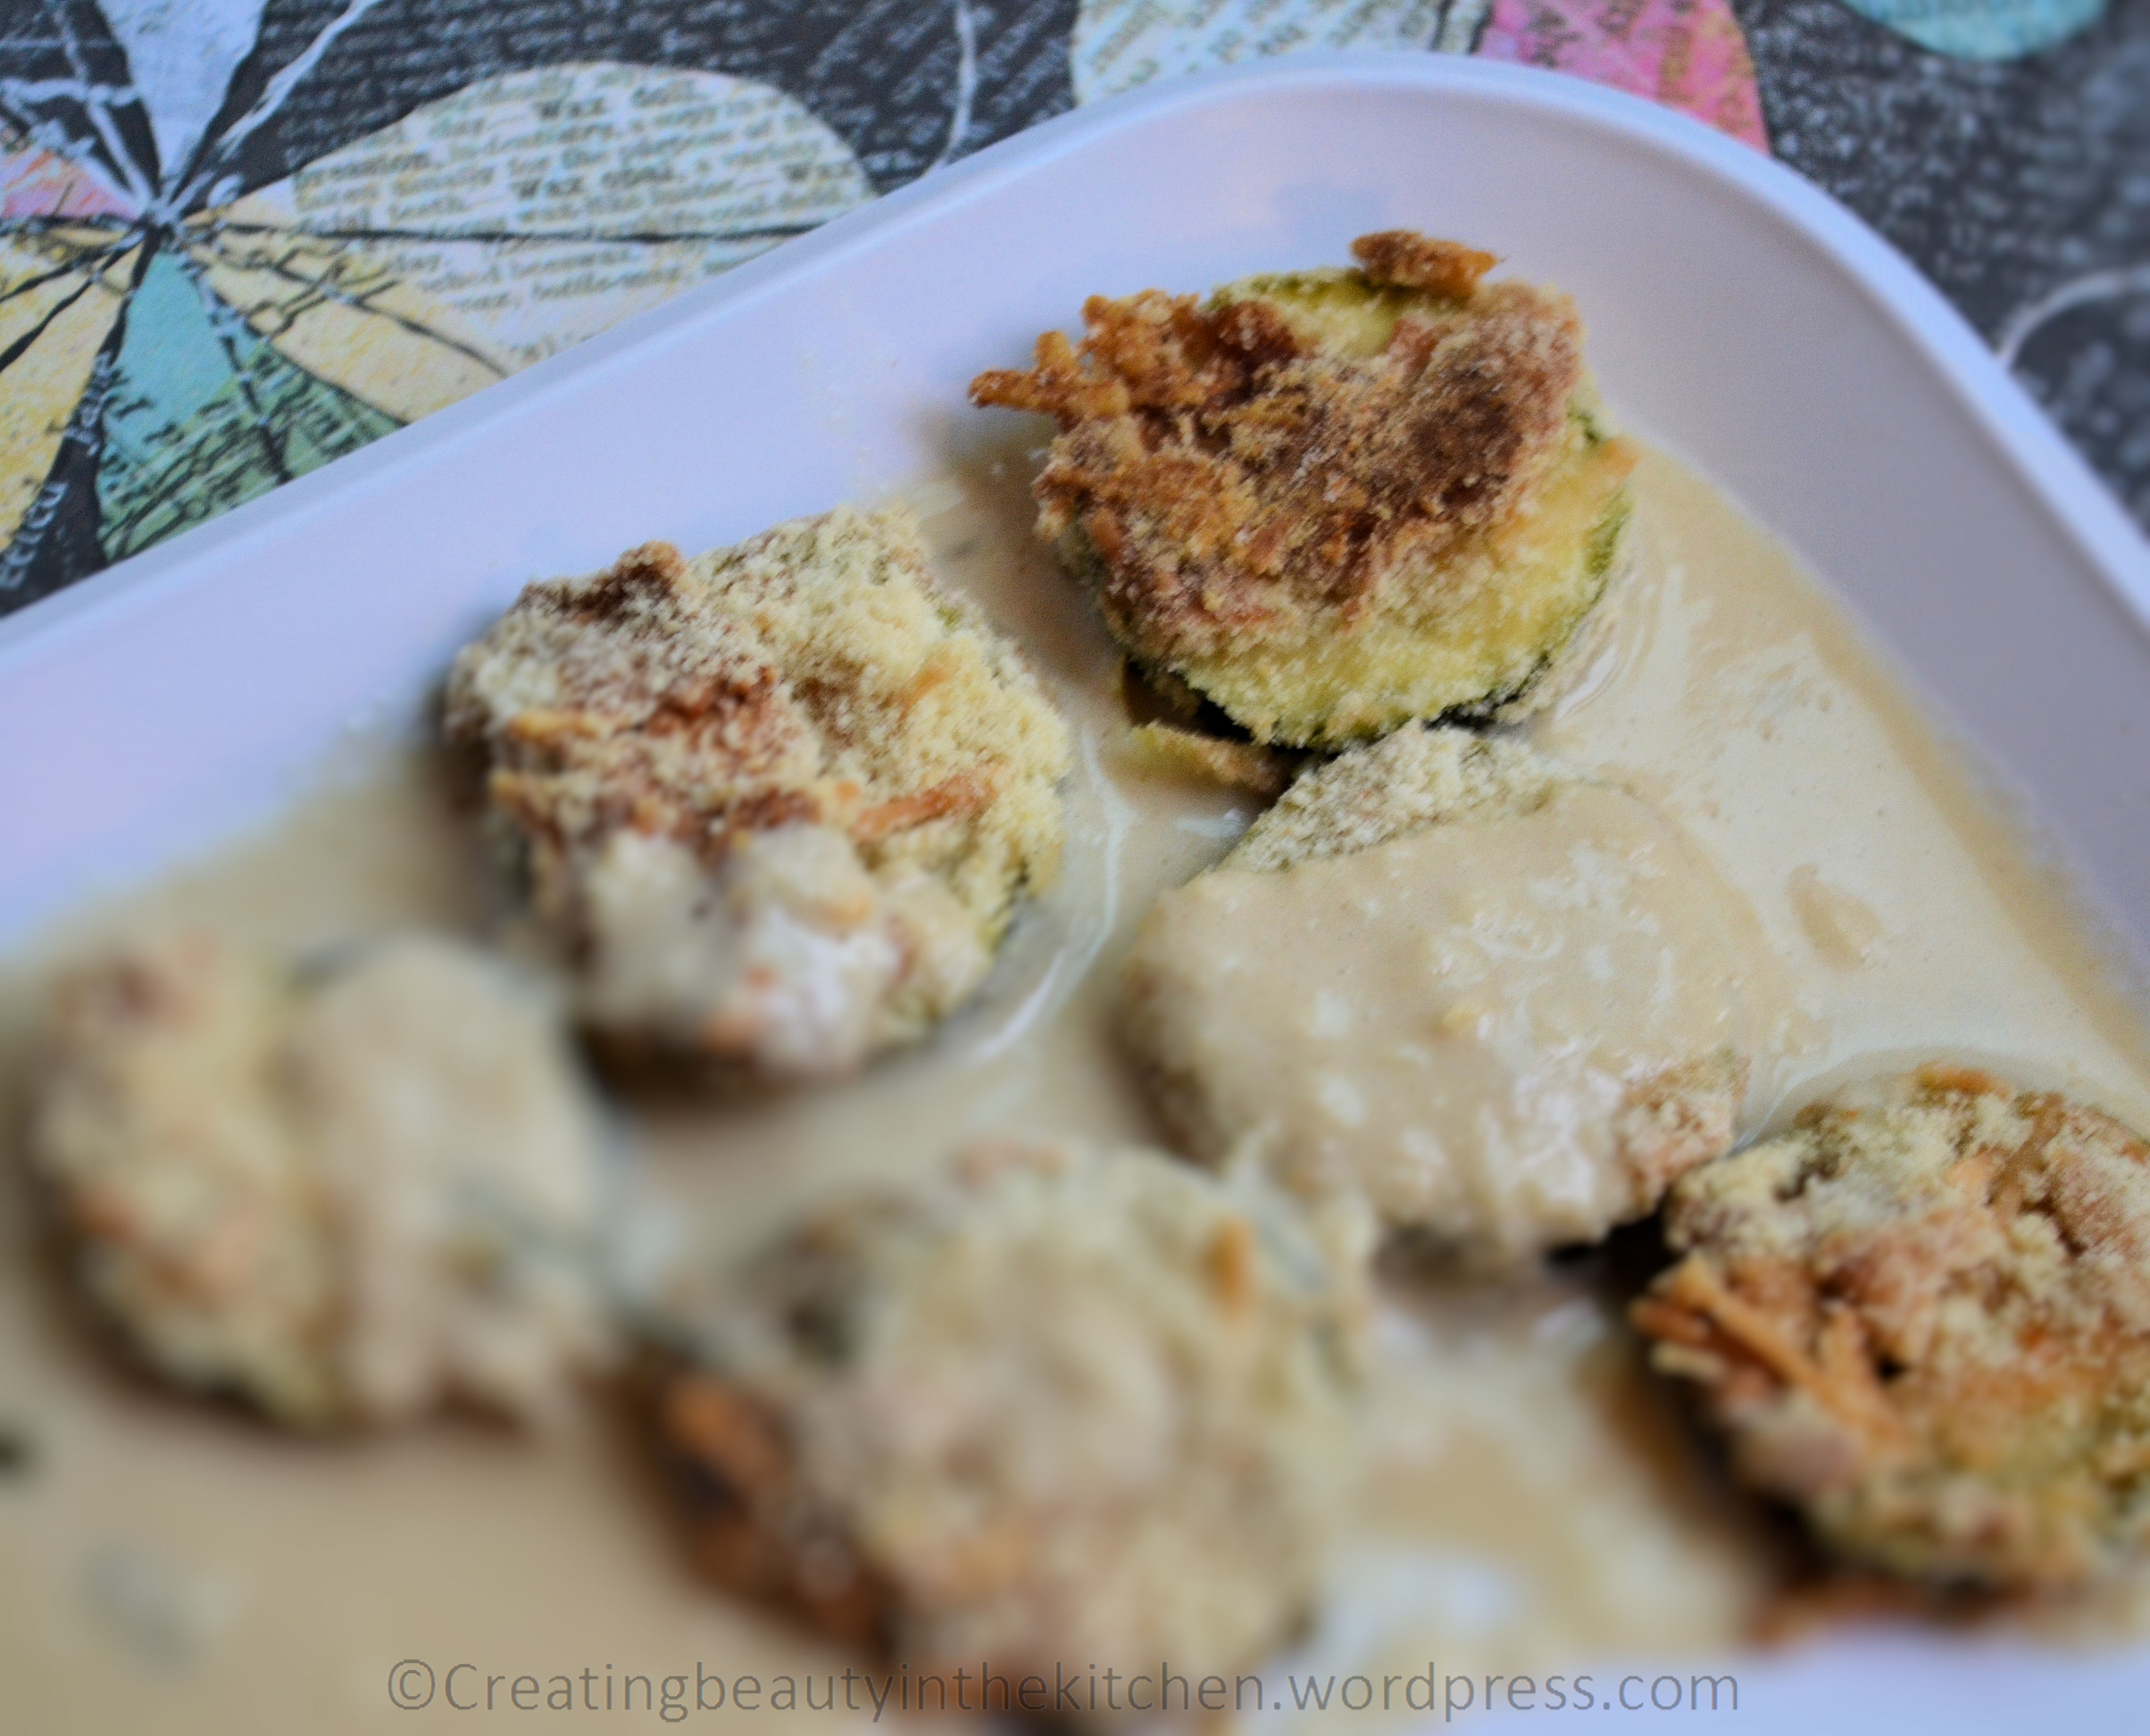
Crusted Zucchini with a Sweet & Tangy Lemon Cheese Sauce

After being here for 3 weeks, my mom left to go back home. It meant so much that she would fly all the way here and help us with our move into our new house. She painted my hubby’s office for us, she helped me unpack, she cleaned, she cooked…what a blessing! Thank you mom! And we just had a whole bunch of fun together! We laughed, we laughed, and we laughed!

I am a bit late getting a post ready for Fiesta Friday because I was so tired last night that I fell asleep at about 7:30. As I was closing my eyes the idea of getting on the blog and posting for FF floated into my head, but it just as quickly vacated the premises. 🙂 We had to wake up at 3 a.m. yesterday to bring my mom to the airport, and that was way earlier than this girl is used to getting up. 🙂

Here is a pic of us at the airport saying, “See you later,” as my mom would say. 🙂 We miss her already!

I cooked this recipe while my mom was still here. It was inspired from a fellow foodie blogger, Cathy at Food Radical. When she made this summer squash appetizer I knew my family would be seeing something like it in our own house soon! 🙂 Thanks Cathy for the inspiration!

Crusted Zucchini with a Sweet & Tangy Lemon Cheese Sauce

  • Servings: 3-4 people
  • Print

*Lori at creatingbeautyinthekitchen.wordpress.com

Ingredients for Zucchini:

  • 2 small zucchini, sliced
  • 1/2 cup quinoa flour
  • 1/2 cup almond flour
  • 1/2 cup Romano cheese
  • 5 cloves of garlic
  • 2 eggs for dipping

Ingredients for Sauce:

  • 1 can coconut milk (the thick part)
  • 1/4 cup Dijon mustard
  • 1 tbsp balsamic vinegar
  • 1/2 cup Romano cheese
  • Fresh rosemary
  • 1 tbsp honey
  • 1 lemon for its juice

Directions:

  • Preheat the oven to 325 degrees.
  • Grease a large baking sheet.
  • Mix the two flours and the cheese together.
  • In another bowl, put your two eggs for dipping.
  • Dip the slices into the eggs and then dip them into the bowl of flour, covering thoroughly on both sides. Set each piece onto the baking sheet.
  • Let cook in the oven until the pieces are tender and golden brown.
  • Meanwhile, make the sauce by combining all the ingredients for it together in a large mixing bowl. Heat on the stovetop on low to medium until the zucchini is ready.

Angie at The Novice Gardener has turned Friday into a day that we bloggers look forward to here on the blogosphere! Thank you for that Angie! Fridays would not be the same without “Fiesta Friday!” And so sweet of Hilda from Along the Grapevine to co-host with Angie this week! Thanks Hilda!

If you have yet to join the party, please do! Whether you are a foodie, a writer, an artist, etc…..all are welcome! It is always so much fun to see the variety of things people bring!

My Signature2

Lemon Rosemary Cheese Stuffed Mini Portabellas

“Let’s get some more mushrooms!” Those were my mom’s words when we went to the store yesterday. I guess I got her hooked on stuffed portabellas! 🙂 This time, instead of doing it with a Mexican flare, I tried something rich yet simple: creamy cheeses mixed with the delightful tastes of lemon and fresh rosemary. These are my favorite! Wow! Mom really liked them, but still loves the guacamole stuffed ones the best. 🙂

There is nothing like fresh ingredients, is there?! I love walking into my back yard and being able to grab some fresh rosemary! 

Lemon Rosemary Cheese Stuffed Mini Portabellas

  • Servings: 1 package of mini portabellos
  • Print

*Created by Lori at creatingbeautyinthekitchen.wordpress.com

Ingredients:

  • 1 package mini portabella mushrooms
  • 3/4 package cream cheese
  • 1/2 cup Romano cheese
  • Lots of fresh rosemary
  • 1 lemon
  • Olive oil

Directions:

  • Wash the mushrooms and take out the stem. Set aside.
  • Wash and chop up the rosemary.
  • Combine the cheeses, rosemary, and juice from the whole lemon into a mixing bowl. Use an electric mixer to whip it up.
  • Stuff all the mushrooms with the cheesy mixture.
  • In a large skillet, add some olive oil and your mushrooms.
  • Cook on medium heat until ready.

Enjoy!

My Signature2

KPO Stuffed Mini Portobellos

Mom and I love mushrooms….though we don’t eat them very often because our hubby’s really, really don’t like them. So when you have a mother-daughter time, what’s a girl going to do?! Well, eat some mushrooms of course! 😉

Not just any mushrooms. Stuffed ones. Stuffed mini portobello ones. Stuffed mini portobello ones with a Mexican flare! 😀

These came out great. I don’t need to tell you that her and I ate every last one. 😉

Because this was a special mom-daughter treat, I named this recipe after my mamma! 🙂 ❤ you mom!

KPO Stuffed Mini Portobellos

  • Servings: 2-4 People
  • Print

*Created by Lori at Creating Beauty in the Kitchen

Ingredients:

  • 1 container mini portobello mushrooms
  • Queso Fresco
  • 1 avocado
  • Fresh cilantro
  • 1 half mini lime
  • 4-6 fresh cloves of garlic
  • 5 cherry tomatoes, quartered
  • Honey
  • Olive oil

Directions:

  • Wash mushrooms and pull out the stems.
  • Stuff them with a little bit of the Queso Fresco.
  • Put a little bit of olive oil in a skillet and saute the garlic.
  • Take the garlic out of the skillet and put a little into each mushroom, set any extra aside for the guacamole.
  • Put a little more oil in the skillet if needed, and place the mushrooms in it, cooking on low.
  • While they are cooking, mash the avocado and mix it with lots of fresh cilantro, lime juice from the lime, some of the garlic, and a little bit of honey.
  • Wash and slice the tomatoes.
  • Keep an eye on the mushrooms, checking to see whether you need to turn the heat up higher.
  • When they are ready, take them out of the skillet, putting some guacamole in each, along with a slice of tomato.

Enjoy!

My Signature2

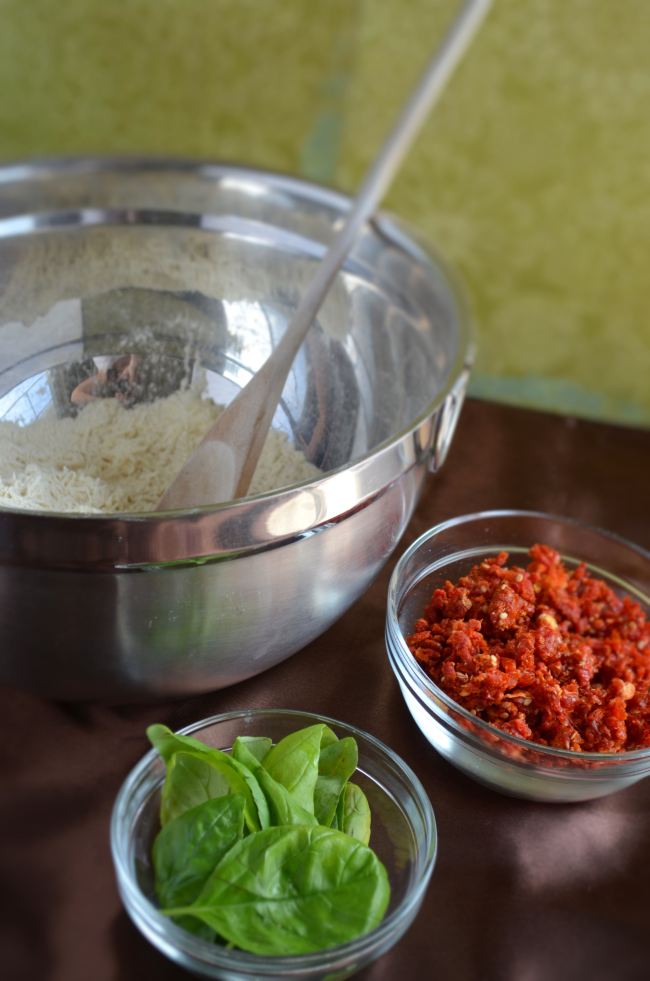
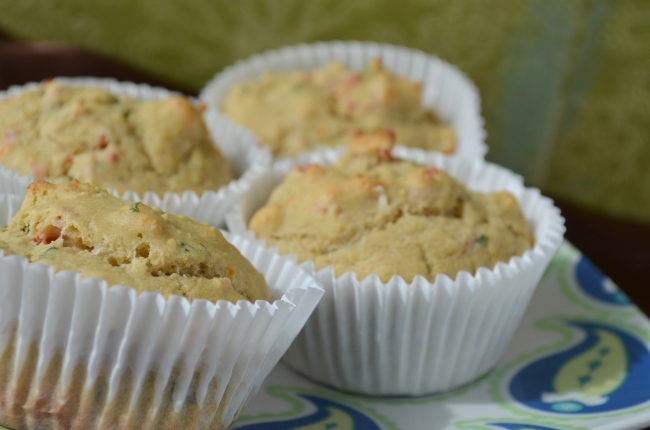
Quinoa Flour, Basil, Sun Dried Tomato & Asiago Muffins

Image

I think you know by now that I ❤ muffins….I certainly ❤ baking them! I was just looking on my recipe page and since beginning my cooking adventures 4 months ago, I have already created 7 different muffin recipes. Not surprisingly, they are all sweet! 🙂

So, I am adding this savory muffin recipe to my collection! Unlike quinoa itself, quinoa flour has a strong taste, so I wasn’t sure whether I would end up liking these or not. I am happy to say though that both hubby and I really did, and so did most of our small group…they are often my taste testers! I put a bit of honey in them, which I think softened their taste a bit.

Enjoy!

Image

Image

Image

Quinoa Flour, Basil, Sun Dried Tomato & Asiago Muffins

  • Servings: 18 Muffins
  • Print

*Created by Lori at Creating Beauty in the Kitchen

Image

  • 3 cups quinoa flour
  • 1 cup sun dried tomatoes
  • Fresh basil (a nice handful)
  • 2 cups Asiago
  • 1/2 cup honey
  • 2 cups coconut milk
  • 1/4 tsp salt
  • 1/2 tsp baking soda
  • 2 eggs

Image

  • Preheat oven to 350 degrees.
  • Grate the Asiago, and chop the basil and sun dried tomatoes into tiny pieces.
  • Combine all the dry ingredients in one mixing bowl, and all the wet in another.
  • Then mix all your ingredients together.
  • Spray muffin pan (I wouldn’t recommend using papers like I did..they stuck to them too much.)
  • Pour batter into the muffin pan and cook for 20- 25 minutes.

Image

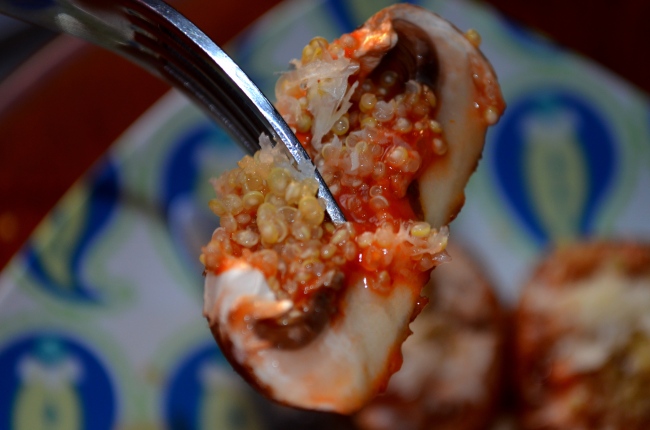
Quinoa, Marinara, & Asiago Stuffed Portobello Mushrooms

Image

When I saw these portobello mushrooms at the store, I just knew I needed to create something with them! I absolutely love mushrooms, and I have never taken the chance to make portobello ones before.

When I was thinking about what to stuff them with, the one thing I knew for sure was “cheese.” As I was looking around, I thought of a fellow blogger, Ivy over at Ivy Mosquito,…because I knew she hated Parmesan cheese. So, Ivy, I want you to know that I skipped on past it for you and went with the Asiago…hoping you like it! And I am personally so glad I did walk past that Parmesan, because the Asiago turned out so wonderful with these mushrooms!

This combination of quinoa, marinara, and Asiago with the portobellos was absolutely delicious!! Loved them!

Image

Image

Quinoa, Marinara, & Asiago Stuffed Portobello Mushrooms

*Created by Lori at Creating Beauty in the Kitchen

Image

  • Portobello mushrooms
  • Homemade red sauce
  • 1/2 cup Quinoa
  • Asiago cheese- to your liking
  • 1 tbsp Olive oil

Image

  • Make homemade low-glycemic marinara sauce…recipe found HERE. (We love this sauce! It tastes so good!)
  • Put 1 cup of water into a saucepan and boil.
  • When the water comes to a boil, add in 1/2 cup quinoa until it begins to boil again.
  • Reduce to medium heat, place a lid on the saucepan, and let simmer for about 12 minutes or until it has sucked up all the water. (You may want to check on it a few times. If all the water soaks up too soon the quinoa will become really crunchy.).
  • When this is finished, take it off of the heat, stir it, cover again, and let sit for 15 minutes.
  • Grate the fresh Asiago cheese and put aside.
  • Wash the mushrooms, cutting off the stem and clearing out the inside a bit.
  • When the marinara sauce and quinoa are ready, now you are ready to stuff the mushrooms. First place a layer of the sauce, then the quinoa, and then the cheese.
  • Pour the olive oil in a skillet and heat it up. Carefully add all the mushrooms to the skillet and cook until the mushroom are warm throughout, and the bottoms are a little browned.
  • Ready to eat! 🙂

Note: (You will end up with extra quinoa and marinara sauce unless you are stuffing lots of portobello mushrooms.)

Image

Spicy Black Beans & Quinoa

Image

In case you may not have noticed, I have totally been on a quinoa kick! I love, love, love it!!

So, when I didn’t have anything planned for dinner last night I decided to make it into a main dish and combine it with another new favorite of mine: black beans. It didn’t matter that I had just had some for breakfast. 🙂

We loved it and would definitely make it again and again! 🙂

Image

SPICY BLACK BEANS & QUINOA

*Created by Lori at Creating Beauty in the Kitchen

IngredientsFinal

  • 1/2 cup quinoa
  • 1 cup water
  • 1 can black beans
  • 1 lemon
  • 1 tbsp olive oil
  • 3 tbsp cilantro
  • 1/3-1/4 cup diced red onions
  • 1/4 tsp chili powder
  • 1/4 tsp cayenne pepper (Leave this or the Chili powder out if you don’t want too much spiciness. For our own preference, we would leave this out next time.)
  • 1 large tomato

DirectionsFinal

  • Measure out and rinse the quinoa.
  • Put 1 cup of water into a saucepan and boil.
  • When the water comes to a boil, add in the quinoa until it begins to boil again.
  • Reduce to medium heat, place a lid on the saucepan, and let simmer for about 12 minutes or until it has sucked up all the water.
  • When this is finished, take it off of the heat, stir it, cover again, and let sit for 15 minutes.
  • While the quinoa is cooking, chop the tomatoes and set aside in a dish.
  • Next, dice up the onion and chop up the cilantro.
  • Drain and rinse the black beans.
  • When the quinoa is done cooking and has been sitting for 5 or so minutes (in other words, you have 10 min left for it to sit), squeeze lemon juice from one whole lemon into a large skillet, adding in the black beans, cilantro, onions, chili powder, and cayenne.
  • Cook on medium heat, stirring occasionally.
  • When the quinoa has finished sitting, add it to the skillet. Mix with the other goodies, adding 1 tbsp olive oil.
  • Cook for about 5 minutes and then serve it on plates, adding the freshly cut tomatoes to the top.

Lori

Spiced Blueberry & Dried Apricot Quinoa with a Blueberry Sauce

Image

I recently had quinoa for the first time, and to my surprise, I absolutely loved it! So, off to the store I went! Tonight I used red quinoa, and as usual, I had little idea as to what I could and would do with it. I chose these ingredients: dried apricots, blueberries, hazelnuts, olive oil, curry, cinnamon, black pepper, and rosemary. Again, unusual ingredients, but my gut told me they would work well together.

And they did! We really thought the ingredients complimented one another, but my hubby and I both felt like it was a little bland. I didn’t know if I should just keep trying to add more spices (I did this some)…all I knew is that I didn’t want to give up on this dish.

So, though I have never heard of someone doing this, I made a blueberry sauce to go over it. I thought, “Why not?!”  The sauce turned out great, and we liked the quinoa much better this way!

That said, to be honest, this isn’t a favorite of mine, but I still wanted to share it with you all in case it might turn into a favorite for you. 🙂 If you have any ideas on how I could have made it less bland (besides making a sauce), please suggest away!

Image

Image

SPICED BLUEBERRY & DRIED APRICOT QUINOA WITH A BLUEBERRY SAUCE

*Created by Lori at Creating Beauty in the Kitchen

IngredientsFinal

For Quinoa:

  • 1 cup red quinoa
  • 1/4 cup chopped hazelnuts
  • 1/3 cup dried apricots
  • 1/3 cup blueberries
  • 3/4 tsp curry
  • 3/4 tsp cinnamon
  • 1 sprig of rosemary
  • 1 1/2 tbsp olive oil
  • black pepper

For Blueberry Sauce:

  • About 1 1/2 cups blueberries
  • 2 tbsp honey
  • 1/2 tsp cinnamon

DirectionsFinal

For Quinoa:

  • Chop up the hazelnuts and the dried apricots into small pieces.
  • Measure out the blueberries and set them aside.
  • Put the quinoa in a bowl with cold water covering it. Allow it to sit for 5 minutes.
  • Use a strainer with very small holes to drain the water out of the quinoa. Rinse thoroughly.
  • Put the quinoa in a medium skillet that has a lid…you will want to use it later. Put it on medium-high heat. This is so you can toast the quinoa.
  • Stir until the quinoa has separated and begin to smell fragrant. (I really noticed a difference in the smell.)
  • Add 2 cups of water, and let it come to a boil.
  • Once it does, turn the heat down to low, put the lid on the pan, and let simmer for 15-20 minutes.
  • Then you will want to use a strainer to drain out the excess water. After you do this, put the drained quinoa back in the skillet.
  • Take it off the stove, cover it with a clean dish towel (it will soak up extra moisture), put the lid back on, and let it sit for 10 minutes.
  • After it has sat for 10 minutes, add in all your other ingredients. Stir thoroughly to get everything mixed in well.
  • Return the skillet to the stove on medium heat, stirring until everything is warm.
  • Serve in bowls.

For Blueberry Sauce:

  • Puree the blueberries in a food processor
  • mix the honey and cinnamon in with the pureed blueberries.
  • Pour over the quinoa.

Lori

Twice Baked Maple, Cinnamon, & Walnut Acorn Squash

And, as promised, here was my favorite….the sweet one! 🙂

These are some of my favorite moments lately…not using a recipe, creating something new, something that I am not sure will work, though I am always really hoping will! 🙂

Image

TWICE BAKED MAPLE, CINNAMON, & WALNUT ACORN SQUASH

*Created by Lori at Creating Beauty in the Kitchen

Serving Size: 2 people

Ingredients:

  • 1 acorn squash
  • 2 tbsp coconut oil
  • 2 tbsp + 2 tsp of maple syrup
  • 1/2 tsp cinnamon
  • 2 tbsp cream cheese
  • 4 tbsp chopped walnuts (Plus a few extra whole ones to put on top)

Directions:

  • Preheat oven to 425 degrees.
  • Cut a whole acorn squash in half, cleaning out the seeds from both sides.
  • Place each half into a baking dish, or a cookie sheet. I preferred putting them in separate baking dishes (I didn’t have one large enough that they both would fit), because so much juice leaked out.
  • Melt the coconut oil
  • Sprinkle the coconut oil onto each half and give it a few minutes to soak in.
  • Flip the squash over and cook open side down for 35 minutes, or until insides are soft enough to mash.
  • When squash is ready, scoop out the insides, leaving a thick enough layer so that the skins maintain their structure.
  • Place the squash in a bowl with 2 tbsp cream cheese. Mash thoroughly.
  • Add in the maple syrup, cinnamon, and walnuts, mixing well.
  • Divide the squash mixture evenly between the two halves.
  • Cook for 10 minutes (your stove should still be heated up to 425 degrees.)
  • After the 10 minutes, add some whole walnuts to the top.
  • Cook for 5 more minutes, then you are ready to eat!

Twice Baked Savory Acorn Squash

My hubby bought some acorn squash for me the other day, knowing I wanted to do something creative with it.  So it sat on our kitchen counter…..day 1 passed by…day 2…day 3…day 4…with me occasionally looking at it and contemplating. I had some thoughts, I really did, but nothing that was really grabbing me…until tonight.

I have never “twice baked” anything, no less a type of squash that I have never even cooked before. But the idea popped into my head and wouldn’t go away. 🙂 The problem was, would I make it sweet or savory? I thought both had the potential of being absolutely delicious…quite the dilemna, I know. 🙂

So, what was a girl to do? I made both, and decided to first post my hubby’s favorite: the savory one. Though the sweet one was my favorite, don’t doubt for a second….I thought this one was really, really good!

Image

Image

Image

Image

TWICE BAKED SAVORY ACORN SQUASH

*Created by Lori at Creating Beauty in the Kitchen

Serving Size: 2 people

Ingredients:

  • 1 acorn squash
  • 4 cloves of fresh garlic
  • 2 tsp fresh thyme
  • 4 tbsp red onion
  • 5 tbsp shaved Parmesan cheese
  • 3 tbsp olive oil

Directions:

  • Preheat oven to 425 degrees.
  • Cut a whole acorn squash in half, cleaning out the seeds on both sides.
  • Place each half into a baking dish, or a cookie sheet. I preferred putting them in separate baking dishes (I didn’t have one large enough that they both would fit), because so much juice leaked out.
  • Sprinkle 1 tbsp of olive oil onto each half and give it a few minutes to soak in.
  • Flip the squash over and cook open side down for 35 minutes, or until insides are soft enough to mash.
  • While the squash is cooking, dice the red onions, and cut up the thyme and garlic.
  • Put 1 tbsp of olive oil in a skillet and saute the onions, garlic, and thyme until garlic begins to brown. Take off stove.
  • When Squash is ready, scoop out the insides leaving a thick enough layer so that the skins maintain structure.
  • Place the squash in a bowl with 4 tbsp Parmesan cheese and mash thoroughly.
  • Add in the onions, garlic, and thyme and mix well.
  • Divide the squash mixture evenly between the two halves.
  • Cook for 10 minutes (Your stove should still be heated up to 425 degrees.)
  • After the 10 minutes, add 1/2 tbsp of shaved Parmesan cheese to each side. Cook for 5 more minutes, so the cheese has a chance to melt.
  • Enjoy!